Disqus is an amazing service that enables your website visitors to start discussions and add comments to your website pages. The standard way to add support for Disqus to a website is to generate a code snippet for your site and then embed this code snippet into the relevant pages of your site, taking care to edit the code snippet every time it’s used on a different page so the URL attribute is updated appropriately. However, with Blocs, adding support for Disqus is incredibly streamlined and straightforward. All you need is a Disqus account, your Disqus site name and the URL your site will be hosted at.
Setting Disqus Project Settings
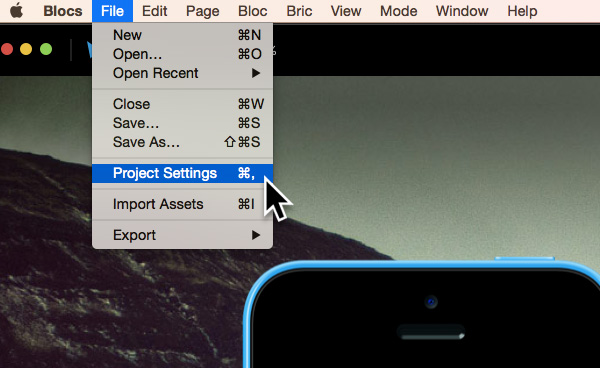
Before we add any Disqus comment Brics to our site, we first need to set a few pieces of data in our project settings. First open the project settings by navigating to File > Project settings from the apps main menu.
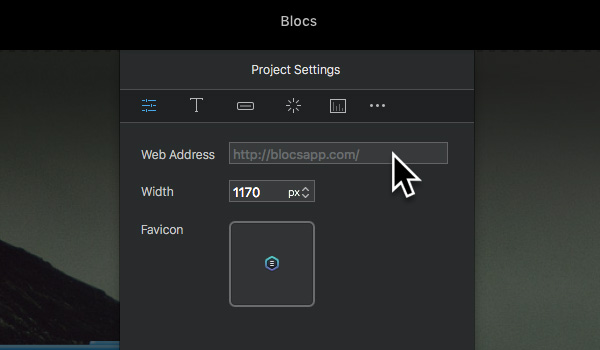
You will now be presented with the project settings, first you need to enter the web address, this is the address you intend to host your site at e.g. http://www.mysite.com. Enter your sites intended web address into the first text field labelled Web Address.
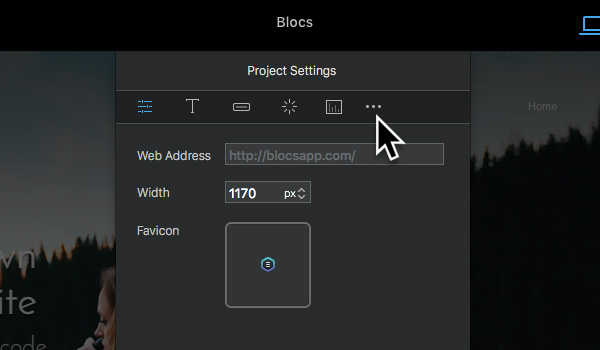
Once you have entered your sites web address, navigate to the last option in the project settings navigation, this option is represented by 3 dots. Left Clicking this icon will open the miscellaneous project options.
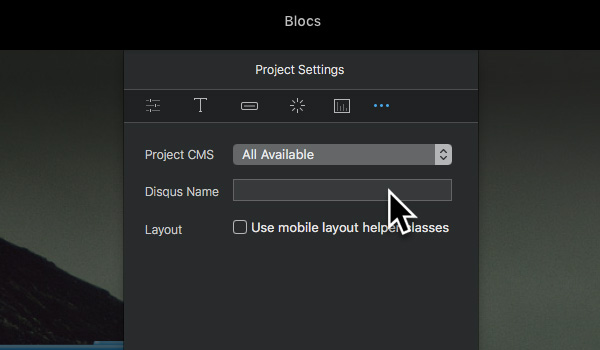
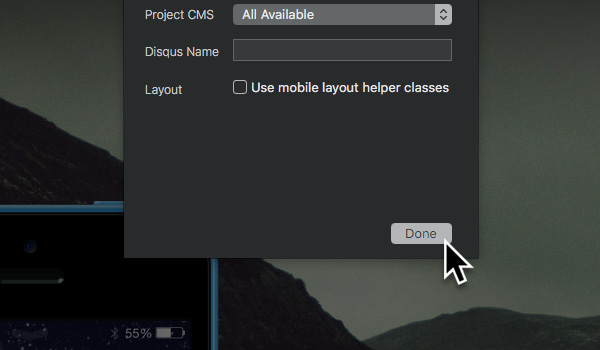
From the miscellaneous project options we now need to set the Disqus name. When you create a Disqus account, you will have the option to add site profiles for each site you wish to add the ability to leave comments on. When you create these profiles via the Disqus dashboard, you will set a site short name, in the text field labelled Disqus Name enter your site’s short name.
Now Left Click the done button located at the bottom right of the project options sheet. Your project is now set up to support Disqus, all that’s left to do is to add the Disqus comments Bric to the pages you would like visitors to leave comments on.
Adding The Disqus Comments Bric
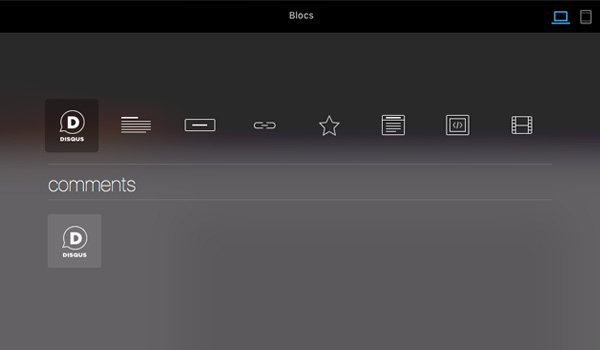
Once your project is set up to support Disqus, all you need to do is add the comment areas, we do this in Blocs using the Disqus comment Bric. To add a Disqus comment Bric to a page, press the D key to enter drop mode, then hit the 0 key to view the Bric library. Using the search field in the Bric library, type comments. The Brics will be filtered to show only the comment items, navigate to the item with the Disqus logo on and Left Click it, the Disqus bric will then be loaded into the current active drop space ready for use.
Hit the Return key to hide the Bric library and then move the cursor to the area you wish to add the Disqus comment Bric and Left Click to set it in place on your page. Take care to exit drop mode by pressing the D key.
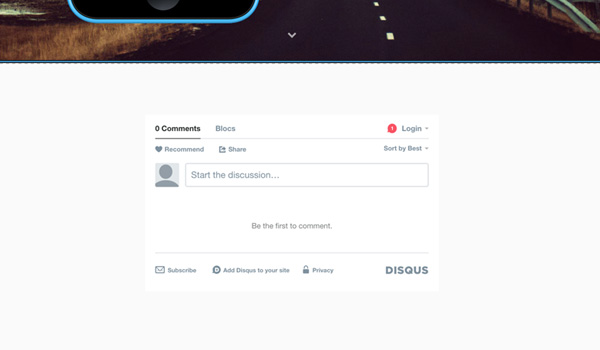
When you export your project, Blocs will automatically set up the Disqus snippets on the relevant pages of your website so they contain the correct values, in order to work correctly on each page. Once your site is live, you will see your Disqus comments are now available on the pages you added them to.