Brics are individual user interface elements that we use in order to make up our web page design. Images, buttons, icons, headers and many others are all classed as Brics within the Blocs application.
Adding Brics
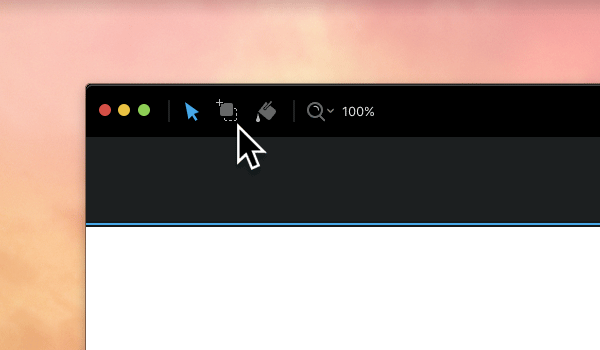
To add a Bric to a page you must first enter Drop Mode, to enter drop mode Left Click the drop icon in the main toolbar or press the D key.

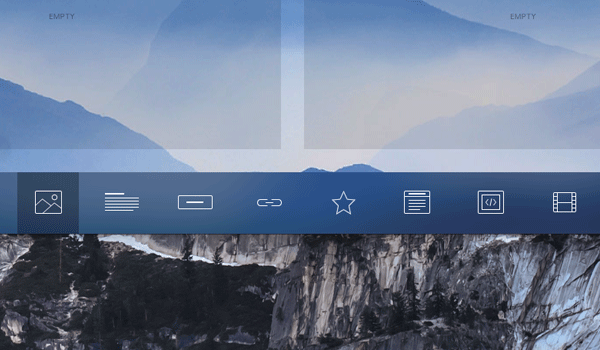
When you enter drop mode the sidebar options will automatically hide to make your workspace more clear and focused on adding new content, you will also notice the drop bar will rise from the bottom of the app’s window. The drop bar contains eight icons, these represent the interchangeable Bric storage spaces that can be used to store the Brics you plan to use when building your web page. The currently active storage space will be highlighted with a darker tone.

When in drop mode the mouse cursor will change to represent the object that will be added to the page when you click. If you move the mouse cursor above or below an already placed Bric on a page, you will see a thin blue line appear. This marker indicates the location that the Bric will be placed i.e. above or below said Bric, if the area does not yet contain a Bric, the entire area will become highlighted when the mouse cursor is over it. When the blue line marker or fully highlighted section is visible a Left Click will place a Bric onto the page in that location.

Selecting Brics
To select a Bric, simply Left Click the Bric when in design mode. Once a Bric is selected a small blue marker will be displayed around the Bric, this indicates the Bric is now selected. When you have a Bric selected, it’s also possible to quickly select the Bric above using the keyboard shortcut ⌘+↑, the Bric below using ⌘+↓, the Bric to the left using ⌘+← and the Bric to the right using ⌘+→.
Moving Brics
You can move any selected Bric up the layout stack using the keyboard shortcut ⌘+⌥+↑ and down the stack using ⌘+⌥+↓. You can also move Brics across into neighbouring stacks using the keyboard shortcut ⌘+⌥+← or ⌘+⌥+→.
Alternatively, you can also drag and drop any Bric from one location to another. When you are dragging a Bric, a blue drop marker will appear in the stack at the location that the element will be placed. When you release the mouse button the Bric will be moved.
Scale Nudging
When a Bric is selected it’s possible to quickly nudge it’s scale up using the keyboard shortcut ⌥+↑ and down using the keyboard shortcut ⌥+↓. This is useful when formatting text.
Align Nudging
When a Bric is selected it’s possible to quickly nudge the alignment of a Bric left using the keyboard shortcut ⌥+← and right using the keyboard shortcut ⌥+→. This is useful when formatting text or positioning Brics such as buttons.
Duplicating Brics
To duplicate any Bric, first select it and then use the keyboard shortcut ⌘+D, alternatively you can also duplicate a Bric by right clicking it and selecting Duplicate from the contextual menu.
Deleting Brics
There are many ways to delete a Bric from a page, the most efficient way is to right click the Bric and select delete from the contextual menu. An alternative option is to use the keyboard shortcut ⌘+Backspace.
